Realtime chat app using Django Channels - Python
Django is a high-level Python web framework that encourages rapid development and clean, pragmatic design. Built by experienced developers, it takes care of much of the hassle of web development, so you can focus on writing your app without needing to reinvent the wheel. It’s free and open source.
Django channel:
Channels is a project that takes Django and extends its abilities beyond HTTP - to handle WebSockets, chat protocols, IoT protocols, and more.
Pre-requesting :
- Python and Pip
- Django
- Basic Knowledge of creating Django projects.
Create a Chat App:
In Terminal, create a new Django project named chat app
django-admin startproject chatappNavigate to the chat app directory and create an app:
python3 manage.py startapp chatAdd chat app in installed apps in setting.py
# chatapp/settings.py
INSTALLED_APPS = [
    'chat',
    'django.contrib.admin',
    'django.contrib.auth',
    'django.contrib.contenttypes',
    'django.contrib.sessions',
    'django.contrib.messages',
    'django.contrib.staticfiles',
]
Create templates/chat/index.html file to run chat UI.
chat/
    __init__.py
    templates/
        chat/
            index.html
    views.py
Copy-paste below code in index.html file.
<!-- chat/templates/chat/index.html -->
<!DOCTYPE html>
<html>
<head>
    <meta charset="utf-8"/>
    <title>Chat Rooms</title>
</head>
<body>
    What chat room would you like to enter?<br>
    <input id="room-name-input" type="text" size="100"><br>
    <input id="room-name-submit" type="button" value="Enter">

<script>
        document.querySelector('#room-name-input').focus();
        document.querySelector('#room-name-input').onkeyup =function(e) {
if (e.keyCode === 13) {// enter, returndocument.querySelector('#room-name-submit').click();
            }
        };

document.querySelector('#room-name-submit').onclick =function(e) {
var roomName = document.querySelector('#room-name-input').value;
            window.location.pathname = '/chat/' + roomName + '/';
        };
    </script>
</body>
</html>
Explanation:
This HTML code is to create a form with one input field to name the room and submit button. Once the submit button is pressed, the new room is created and redirected to that page.
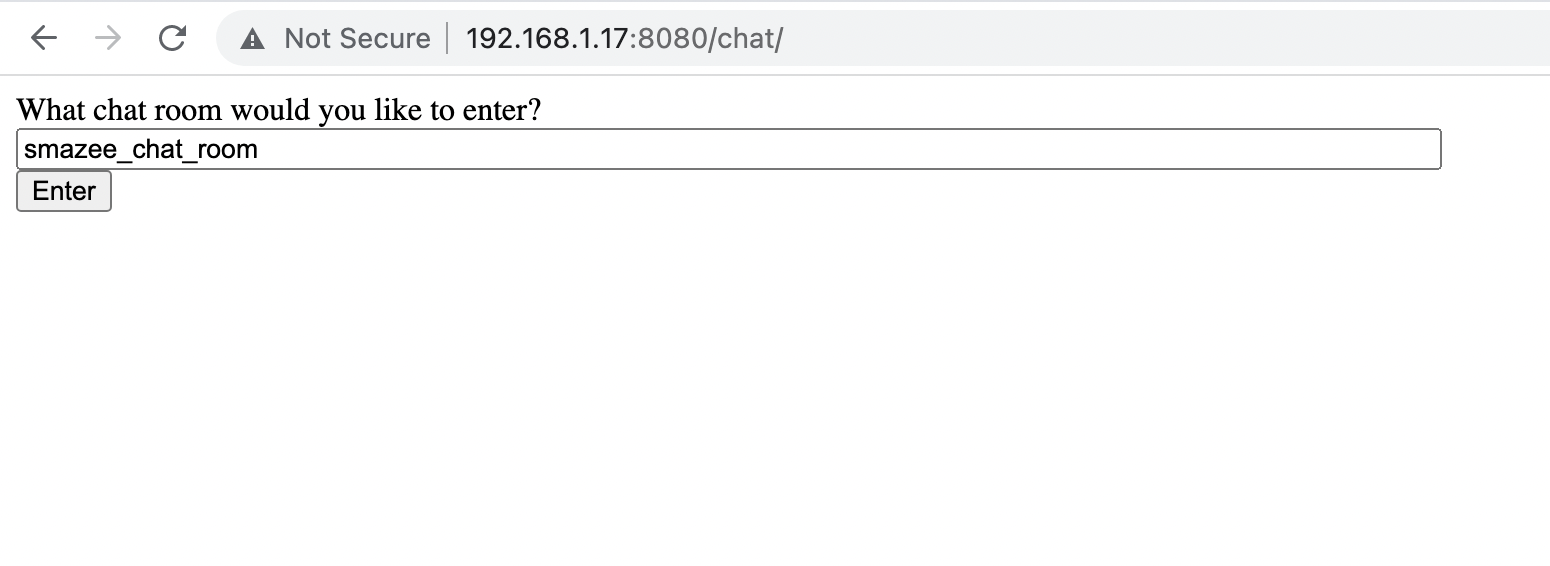
Sample Picture of the HTLM code
Create the view function for the room view. Put the following code in chat/views.py:
# chat/views.py
from django.shortcutsimport render

def index(request):
return render(request, 'chat/index.html')
Create urls.py file in chat folder and include the following code:
# chat/urls.py
from django.urls import path

from.import views

urlpatterns = [
    path('chat', views.index, name='index'),
]
This creates a route “/chat” which render the index.html page.
Include chat/urls.py in chatapp/urls.py.
# mysite/urls.py
from django.conf.urls import include
from django.urls import path
from django.contrib import admin

urlpatterns = [
    path('chat/', include('chat.urls')),
    path('admin/', admin.site.urls),
]
Intergrate Channel in chatapp:
Install channel:
python3 -m pip install -U channelsOnce that’s done, you should add channels to your INSTALLED_APPS setting:
INSTALLED_APPS = (
'django.contrib.auth',
'django.contrib.contenttypes',
'django.contrib.sessions',
'django.contrib.sites',
...
'channels', # ------> ADD THIS LINE
)
Then, adjust your project’s asgi.py file, e.g. myproject/asgi.py, to wrap the Django ASGI application:
import os from channels.routing
import ProtocolTypeRouter
from django.core.asgi import get_asgi_application

os.environ.setdefault('DJANGO_SETTINGS_MODULE','myproject.settings')

application = ProtocolTypeRouter({
  "http": get_asgi_application(),
  "websocket": AuthMiddlewareStack(
        URLRouter(
            chat.routing.websocket_urlpatterns
        )
    ),
})
And finally, set your ASGI_APPLICATION setting to point to that routing object as your root application:
ASGI_APPLICATION = "myproject.asgi.application"Run the server and check ASGI/channel started the server
python3 manage.py runserverCreate a room.html file in the templates/chat directory and include the following code.
<!-- chat/templates/chat/room.html -->
<!DOCTYPE html>
<html>
<head>
    <meta charset="utf-8"/>
    <title>Chat Room</title>
</head>
<body>
    <textarea id="chat-log" cols="100" rows="20"></textarea><br>
    <input id="chat-message-input" type="text" size="100"><br>
    <input id="chat-message-submit" type="button" value="Send">
    {{ room_name|json_script:"room-name" }}
    <script>
const roomName = JSON.parse(document.getElementById('room-name').textContent);

const chatSocket =new WebSocket(
            'ws://'
            + window.location.host
            + '/ws/chat/'
            + roomName
            + '/'
        );

chatSocket.onmessage =function(e) {
const data = JSON.parse(e.data);
            document.querySelector('#chat-log').value += (data.message + '\n');
        };

chatSocket.onclose =function(e) {
            console.error('Chat socket closed unexpectedly');
        };

document.querySelector('#chat-message-input').focus();
        document.querySelector('#chat-message-input').onkeyup =function(e) {
if (e.keyCode === 13) {// enter, returndocument.querySelector('#chat-message-submit').click();
            }
        };

document.querySelector('#chat-message-submit').onclick =function(e) {
const messageInputDom = document.querySelector('#chat-message-input');
const message = messageInputDom.value;
            chatSocket.send(JSON.stringify({
                'message': message
            }));
            messageInputDom.value = '';
        };
    </script>
</body>
</html>
Device 1 ( from Chrome )
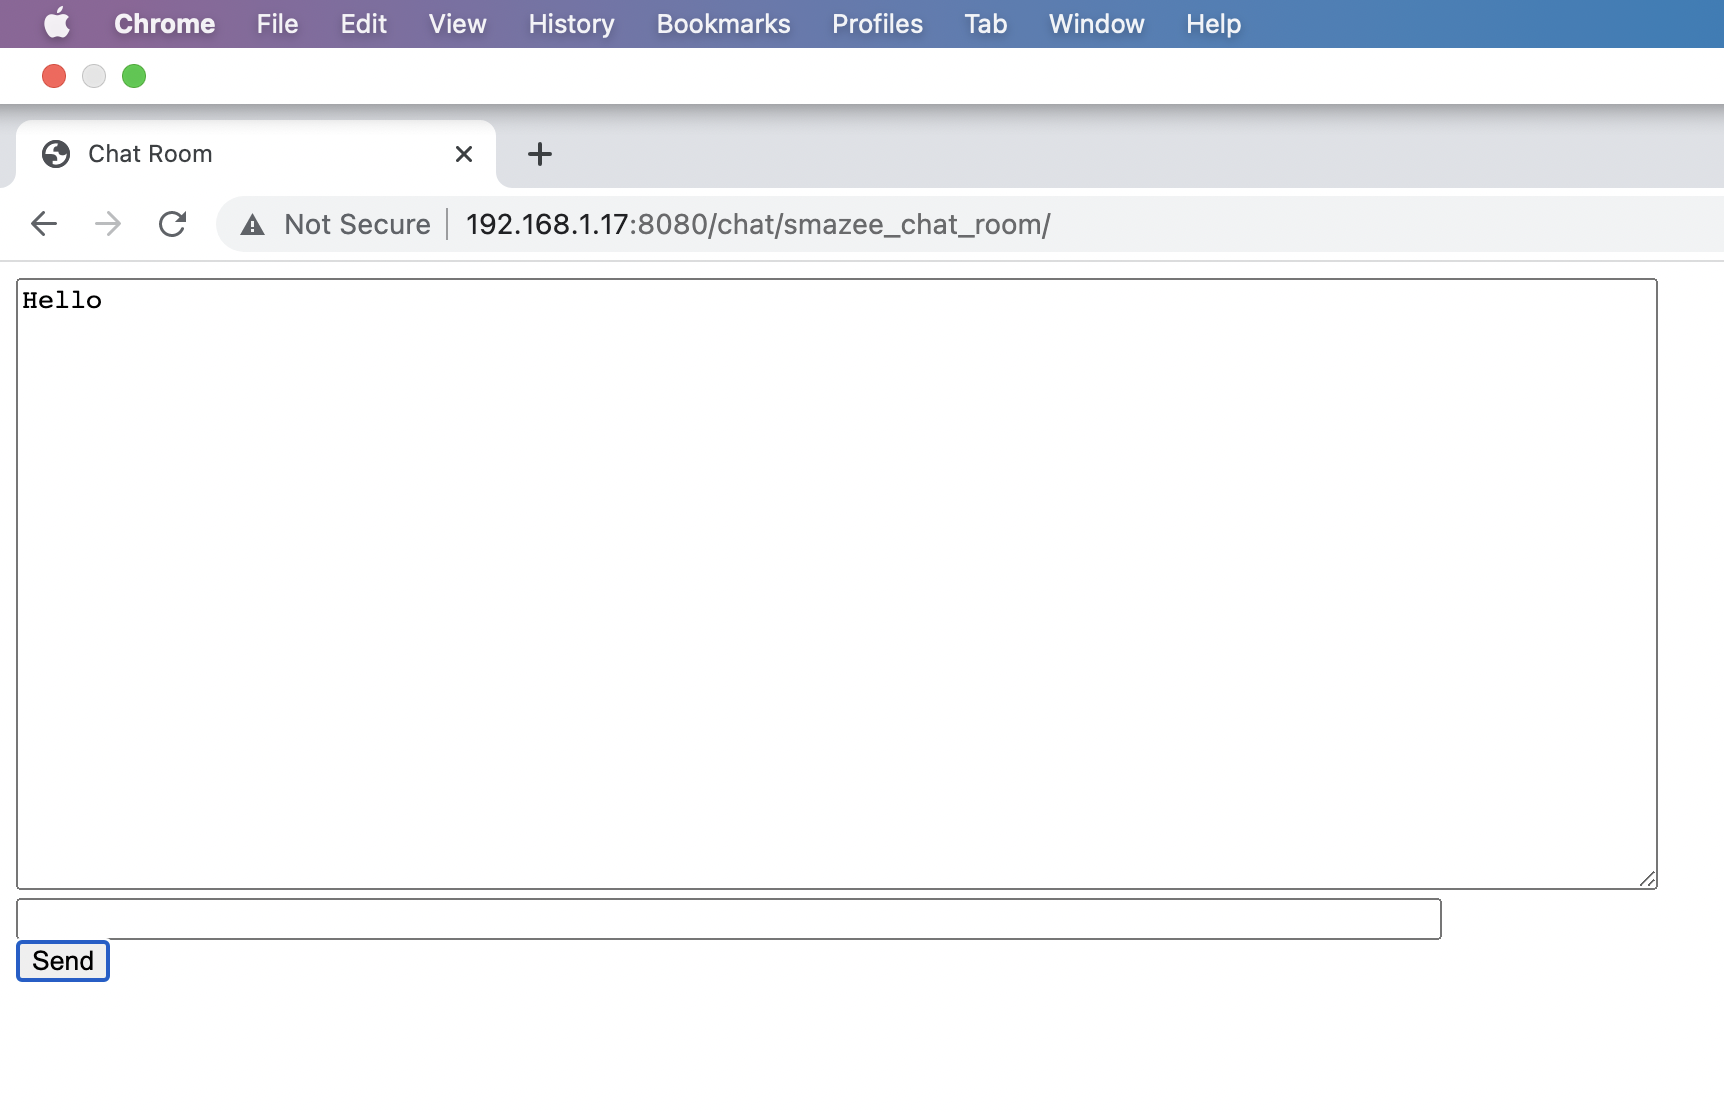
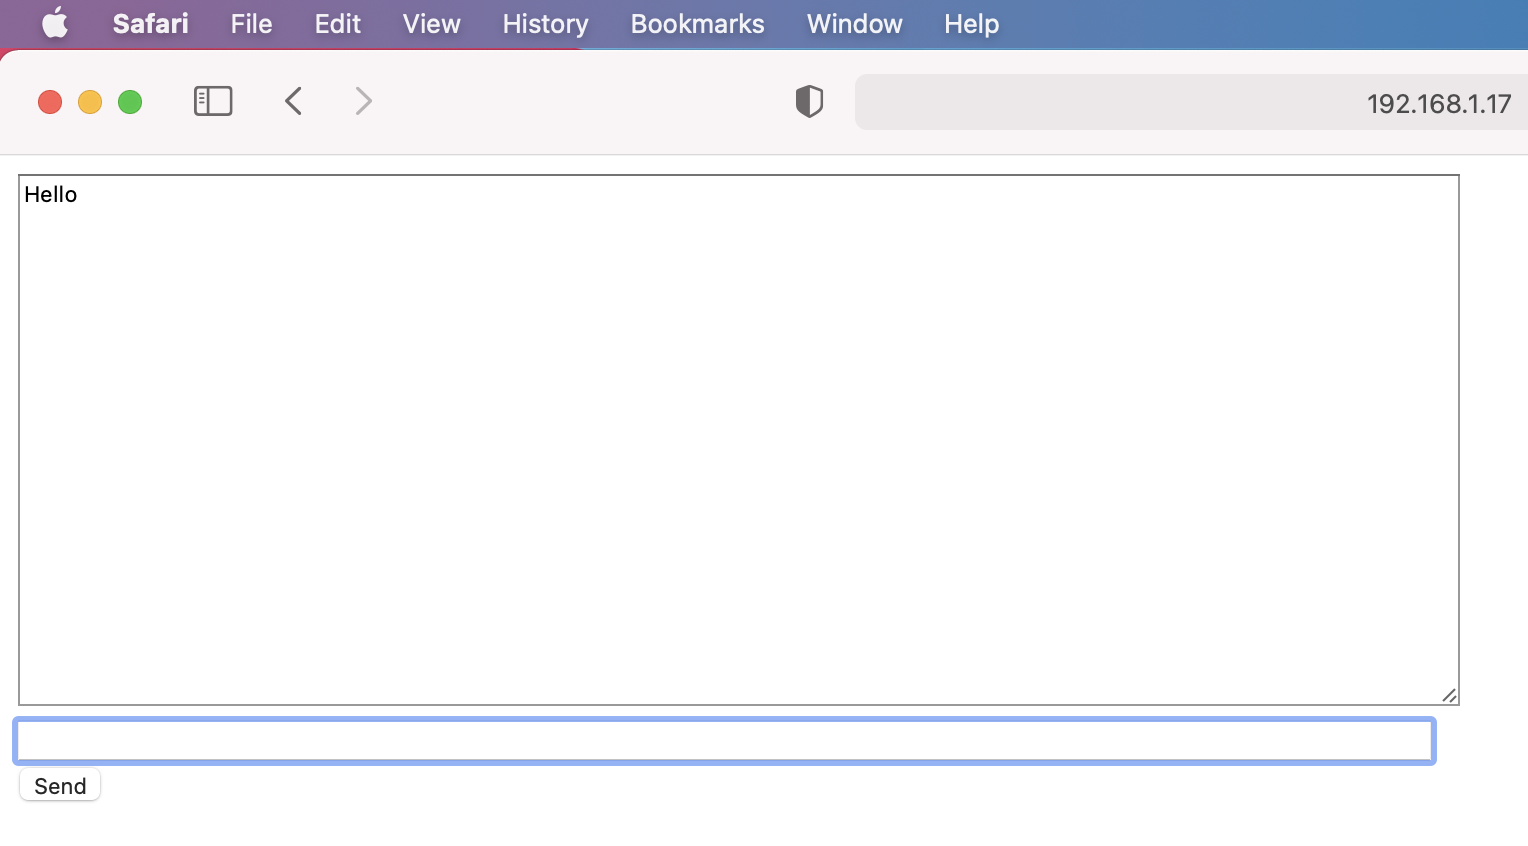
Device 2 ( from Safari )
Create the view function for the room view in chat/views.py:
def room(request, room_name):
return render(request, 'chat/room.html', {
        'room_name': room_name
    })
Create the route for the room view in chat/urls.py:
path('str:room_name/', views.room, name='room'),Write your first consumer
When Django accepts an HTTP request, it consults the root URLconf to lookup a view function and then calls the view function to handle the request. Similarly, when Channels accepts a WebSocket connection, it consults the root routing configuration to lookup a consumer and then calls various functions on the consumer to handle events from the connection.
We will write a basic consumer that accepts WebSocket connections on the path /ws/chat/ROOM_NAME/ that takes any message it receives on the WebSocket and echos it back to the same WebSocket.
Create a new file chat/consumers.py and include the following code:
# chat/consumers.py
import json
from channels.generic.websocket import WebsocketConsumer

class ChatConsumer(WebsocketConsumer):
def connect(self):
    self.accept()

def disconnect(self, close_code):
    pass
def receive(self, text_data):
        text_data_json = json.loads(text_data)
        message = text_data_json['message']

self.send(text_data=json.dumps({
            'message': message
        }))
We need to create a routing configuration for the chat app that has a route to the consumer. Create a new file chat/routing.py and include code.
# chat/routing.py
from django.urls import re_path

from.import consumers

websocket_urlpatterns = [
    re_path(r'ws/chat/(?P<room_name>\w+)/$', consumers.ChatConsumer.as_asgi()),
]
We call the as_asgi() the class method in order to get an ASGI application that will instantiate an instance of our consumer for each user connection. This is similar to Django’s as_view(), which plays the same role for per-request Django view instances.
(Note we use re_path() due to limitations in URLRouter.)
The next step is to point the root routing configuration at the chat.routing module. In mysite/asgi.py, import AuthMiddlewareStack, URLRouter, and chat.routing; and insert a ‘websocket’ key in the ProtocolTypeRouter list in the following format:
# mysite/asgi.py
import os
from channels.auth import AuthMiddlewareStack
from channels.routing import ProtocolTypeRouter, URLRouter
from django.core.asgi import get_asgi_application
import chat.routing
os.environ.setdefault("DJANGO_SETTINGS_MODULE", "mysite.settings")

application = ProtocolTypeRouter({
  "http": get_asgi_application(),
  "websocket": AuthMiddlewareStack(
        URLRouter(
            chat.routing.websocket_urlpatterns
        )
    ),
})
Migrate and run the server.
python3 manage.py makemigrations
python3 manage.py migrate
Enable a channel layer
A channel layer is a kind of communication system. It allows multiple consumer instances to talk with each other, and with other parts of Django.
A channel layer provides the following abstractions:
- A channel is a mailbox where messages can be sent to. Each channel has a name. Anyone who has the name of a channel can send a message to the channel.
- A group is a group of related channels. A group has a name. Anyone who has the name of a group can add/remove a channel to the group by name and send a message to all channels in the group. It is not possible to enumerate what channels are in a particular group.
Install channel redis python package
python3 -m pip install channels_redisIn settings.py add channel layer
CHANNEL_LAYERS = {
    'default': {
        'BACKEND': 'channels_redis.core.RedisChannelLayer',
        'CONFIG': {
            "hosts": [('127.0.0.1', 6379)],
        },
    },
}
Now that we have a channel layer, let’s use it in ChatConsumer. Put the following code in chat/consumers.py, replacing the old code:
# chat/consumers.py
import json
from asgiref.sync import async_to_sync
from channels.generic.websocket import WebsocketConsumer

class ChatConsumer(WebsocketConsumer):
def connect(self):
        self.room_name = self.scope['url_route']['kwargs']['room_name']
        self.room_group_name = 'chat_%s' % self.room_name

# Join room groupasync_to_sync(self.channel_layer.group_add)(
            self.room_group_name,
            self.channel_name
        )

self.accept()

def disconnect(self, close_code):
# Leave room groupasync_to_sync(self.channel_layer.group_discard)(
            self.room_group_name,
            self.channel_name
        )

# Receive message from WebSocketdef receive(self, text_data):
        text_data_json = json.loads(text_data)
        message = text_data_json['message']

# Send message to room groupasync_to_sync(self.channel_layer.group_send)(
            self.room_group_name,
            {
                'type': 'chat_message',
                'message': message
            }
        )

# Receive message from room groupdef chat_message(self, event):
        message = event['message']

# Send message to WebSocketself.send(text_data=json.dumps({
            'message': message
        }))
Start Redis server :
# For mac users
brew service start redis
Start Django server and test it.
Make our chat app asynchronous consumers.py
import json
from channels.generic.websocket import AsyncWebsocketConsumer

class ChatConsumer(AsyncWebsocketConsumer):
async def connect(self):
        self.room_name = self.scope['url_route']['kwargs']['room_name']
        self.room_group_name = 'chat_%s' % self.room_name

# Join room groupawait self.channel_layer.group_add(
            self.room_group_name,
            self.channel_name
        )

await self.accept()

async def disconnect(self, close_code):
# Leave room group
await self.channel_layer.group_discard(
            self.room_group_name,
            self.channel_name
        )

# Receive message from WebSocket
async def receive(self, text_data):
        text_data_json = json.loads(text_data)
        message = text_data_json['message']

# Send message to room group
await self.channel_layer.group_send(
            self.room_group_name,
            {
                'type': 'chat_message',
                'message': message
            }
        )

# Receive message from room group
async def chat_message(self, event):
        message = event['message']

# Send message to WebSocket
await self.send(text_data=json.dumps({
            'message': message
        }))
Send data from view.py
add the following code in view.py
from django.shortcuts import HttpResponse
from channels.layers import get_channel_layer
from asgiref.sync import async_to_sync

def alarm(req):
layer = get_channel_layer()
async_to_sync(layer.group_send)('chat_lobbyh', {
'type': 'send_from_view',
'content': 'triggered'
})

return HttpResponse('<p>Done</p>')
add a function in consumer to send data
async def send_from_view(self, event):
        print(event)
        await self.send(
            json.dumps({
                'type': 'events.alarm',
                'content': event['content']
            })
        )
Summary:
In this use case, we made a very basic chat app using the Django channel. Using this the pub/sub can be created by the same method.