Flutter + Firebase ML
Flutter released its stable version on just 12/4/2018. It had acquired a huge community within this short span.You can even create ML apps with Flutter.
Flutter is Awesome 💙
Firebase ML Kit: ML Kit is a mobile SDK that brings Google’s machine learning expertise to Android and iOS apps in a powerful yet easy-to-use package. Whether you’re new or experienced in machine learning, you can implement the functionality you need in just a few lines of code.
Note: This post is targeted to those who possess a basic knowledge of Flutter and ML and wish understand the process of setting up tools within a Flutter project. If you are beginner first learn some Flutter basics.
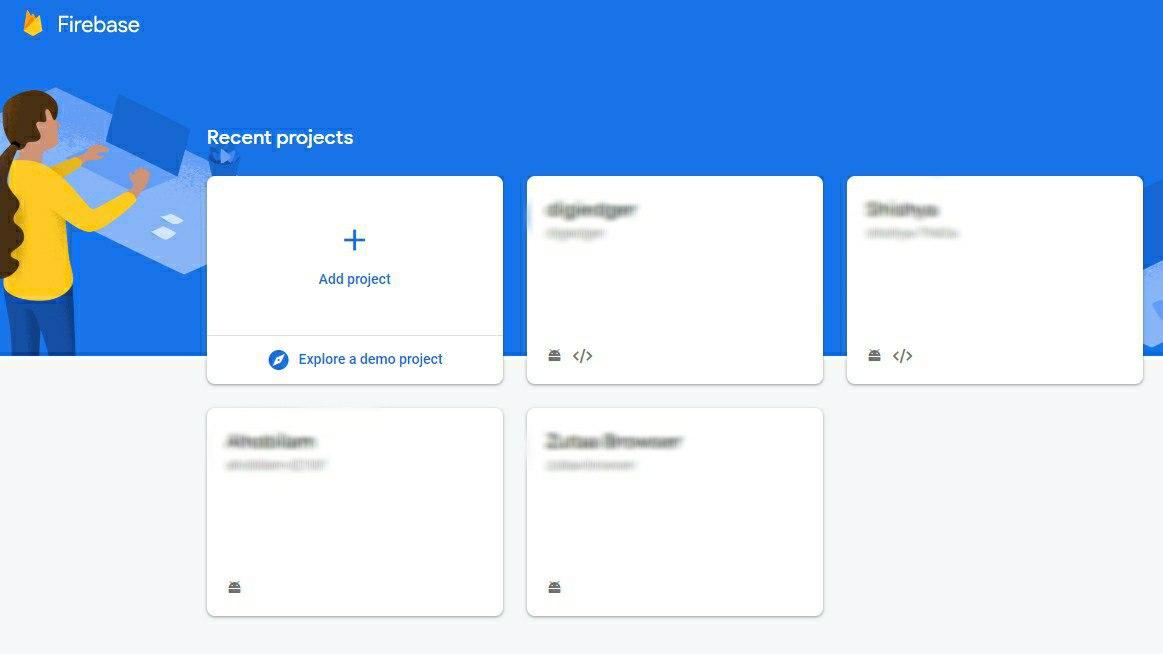
Get Start with Firebase Console:
-
Login to Firebase console
-
Add new project
-
Enter project detail, enable analysis(optional).
-
Add an app from a dashboard (Click android logo)
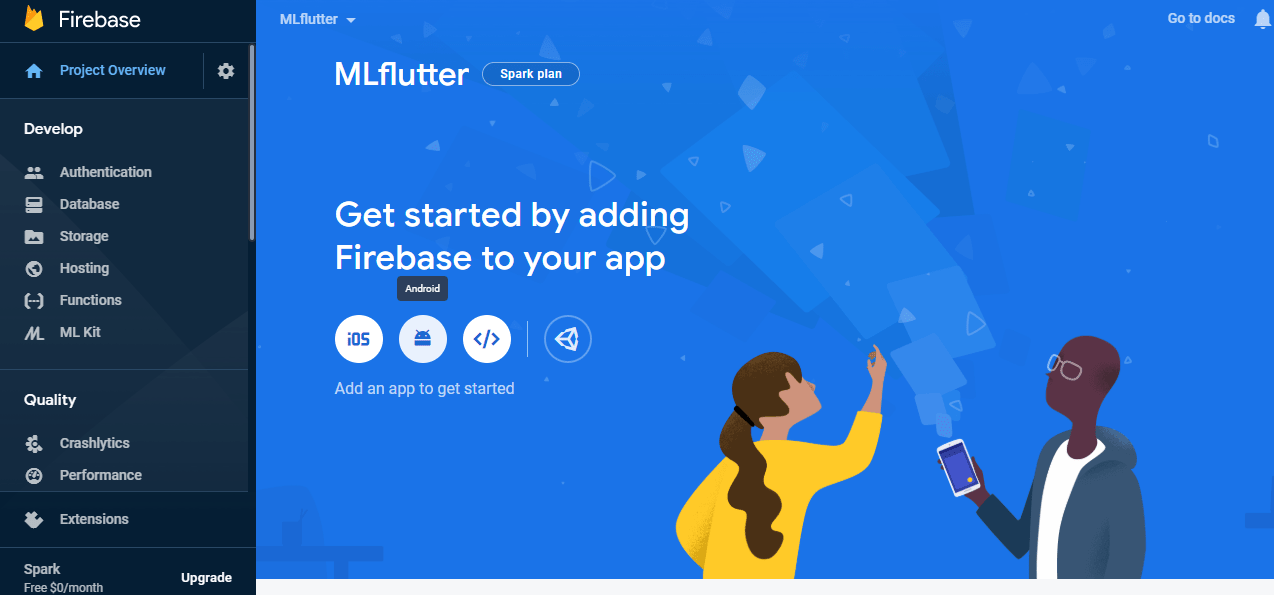
5. Register the app: For android package name, go to your android folder /app/build.gradle file and copy the application id and paste it here.
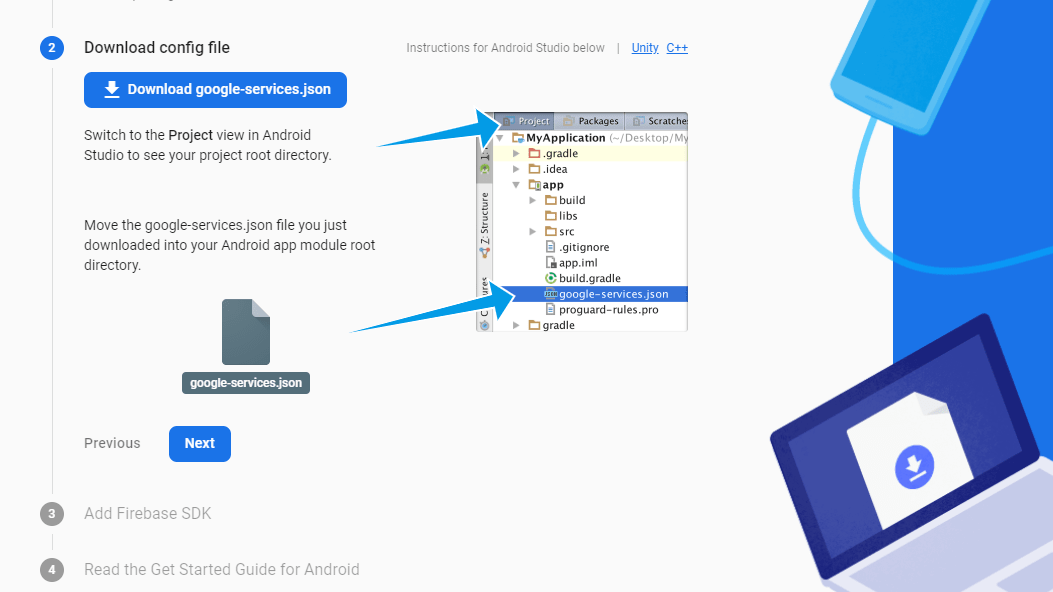
- Download the google.json file and place it in the app folder.
- Add following code in
/build.gradle
buildscript {
  repositories {
    // Check that you have the following line (if not, add it):
    google()  // Google's Maven repository
  }
  dependencies {
    ...
    // Add this line
    classpath 'com.google.gms:google-services:4.3.3'
  }
}

allprojects {
  ...
  repositories {
    // Check that you have the following line (if not, add it):
    google()  // Google's Maven repository
    ...
  }
}- Add following code in
/app/build.gradle
apply plugin: 'com.android.application'
// Add this line
apply plugin: 'com.google.gms.google-services'

dependencies {
  // add the Firebase SDK for Google Analytics
  implementation 'com.google.firebase:firebase-analytics:17.2.2'
  // add SDKs for any other desired Firebase products
  // https://firebase.google.com/docs/android/setup#available-libraries
}- If you want, verify your app(optional).
Code your Flutter App
- Create a flutter app
- Include a firebase ml kit package in pubspec.yaml file
dependencies:firebase_ml_vision: ^0.9.3+8- For image labeler, add following code in
/app/build.gradle
android {
    dependencies {
        // ...

        api 'com.google.firebase:firebase-ml-vision-image-label-model:17.0.2'
    }
}- For on app face detection, add following code in
/app/build.gradle
android {
    dependencies {
        // ...

        api 'com.google.firebase:firebase-ml-vision-face-model:17.0.2'
    }
}- Recommended option step, add following code in
/app/src/main/AndroidManifest.xml
<application ...>
  ...
  <meta-data
    android:name="com.google.firebase.ml.vision.DEPENDENCIES"
    android:value="ocr" />
  <!-- To use multiple models: android:value="ocr,label,barcode,face" -->
</application>
Using an ML Vision Detector
1. Create a FirebaseVisionImage.
Create a firebase vision image object from your image. To create a firebase vision image from an image File object:
final File imageFile = getImageFile();
final FirebaseVisionImage visionImage = FirebaseVisionImage.fromFile(imageFile);
2. Create an instance of a detector.
final BarcodeDetector barcodeDetector = FirebaseVision.instance.barcodeDetector();
final ImageLabeler cloudLabeler = FirebaseVision.instance.cloudImageLabeler();
final FaceDetector faceDetector = FirebaseVision.instance.faceDetector();
final ImageLabeler labeler = FirebaseVision.instance.imageLabeler();
final TextRecognizer textRecognizer = FirebaseVision.instance.textRecognizer();
You can also configure all detectors, except Text recognizer, with desired options.
final ImageLabeler labeler = FirebaseVision.instance.imageLabler(
  ImageLabelerOptions(confidenceThreshold: 0.75),
);
3. Call detectInImage() or processImage() with visionImage.
final List<Barcode> barcodes = await barcodeDetector.detectInImage(visionImage);
final List<ImageLabel> cloudLabels = await cloudLabeler.processImage(visionImage);
final List<Face> faces = await faceDetector.processImage(visionImage);
final List<ImageLabel> labels = await labeler.processImage(visionImage);
final VisionText visionText = await textRecognizer.processImage(visionImage);
4. Extract data.
a. Extract barcodes.
for (Barcode barcode in barcodes) {
  final Rectangle<int> boundingBox = barcode.boundingBox;
  final List<Point<int>> cornerPoints = barcode.cornerPoints;  final String rawValue = barcode.rawValue;  final BarcodeValueType valueType = barcode.valueType;  // See API reference for complete list of supported types
  switch (valueType) {
    case BarcodeValueType.wifi:
      final String ssid = barcode.wifi.ssid;
      final String password = barcode.wifi.password;
      final BarcodeWiFiEncryptionType type = barcode.wifi.encryptionType;
      break;
    case BarcodeValueType.url:
      final String title = barcode.url.title;
      final String url = barcode.url.url;
      break;
  }
}
b. Extract faces.
for (Face face in faces) {
  final Rectangle<int> boundingBox = face.boundingBox;  final double rotY = face.headEulerAngleY; // Head is rotated to the right rotY degrees
  final double rotZ = face.headEulerAngleZ; // Head is tilted sideways rotZ degrees  // If landmark detection was enabled with FaceDetectorOptions (mouth, ears,
  // eyes, cheeks, and nose available):
  final FaceLandmark leftEar = face.getLandmark(FaceLandmarkType.leftEar);
  if (leftEar != null) {
    final Point<double> leftEarPos = leftEar.position;
  }  // If classification was enabled with FaceDetectorOptions:
  if (face.smilingProbability != null) {
    final double smileProb = face.smilingProbability;
  }  // If face tracking was enabled with FaceDetectorOptions:
  if (face.trackingId != null) {
    final int id = face.trackingId;
  }
}
c. Extract labels.
for (ImageLabel label in labels) {
  final String text = label.text;
  final String entityId = label.entityId;
  final double confidence = label.confidence;
}
d. Extract text.
String text = visionText.text;
for (TextBlock block in visionText.blocks) {
  final Rect boundingBox = block.boundingBox;
  final List<Offset> cornerPoints = block.cornerPoints;
  final String text = block.text;
  final List<RecognizedLanguage> languages = block.recognizedLanguages;  for (TextLine line in block.lines) {
    // Same getters as TextBlock
    for (TextElement element in line.elements) {
      // Same getters as TextBlock
    }
  }
}
5. Release resources with close().
barcodeDetector.close();
cloudLabeler.close();
faceDetector.close();
labeler.close();
textRecognizer.close();
Tada!🎉 You had created your first Flutter ML app. You can start building this app with implement with your own ideas.